Ethnio + Usertesting.com for real-time unmoderated usability testing goodness
I was intrigued to use Ethnio to grab live recruits in real time. Usertesting.com has been proved itself to be a fast, cheap way to get videos of people using your site. Put them together? Magic! Like a well-executed magic trick, this combo requires finesse to make it appear effortless.
My goal was to grab users as they landed anywhere on our support site, throw them over to usertesting to watch them navigate our site to find information that solved their support issue.
The first couple tests I did failed hard. Not a single user successfully finished a video. Ouch! The conversion funnel from screener to finished video is a long and arduous one.
Here’s what I learned in three weeks of tuning and tweaking.
Usertesting.com
Make an account and create a new task. Choose to have Ethnio pay the incentives. I still don’t have 100% completion rate, so I request twice the number of users that I ultimately need. You just write to support@usertesting.com and have the extra credits refunded afterward.
URL
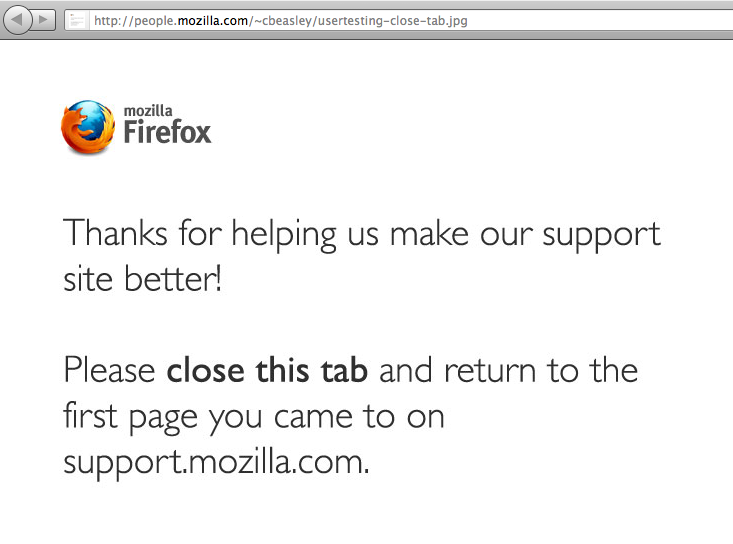
Usertesting requires a URL that will be shown to the participant when they start the test. This was a problem for me because I was recruiting from all over the site. There was no way to pass the participant’s original URL from Ethnio. When I used our homepage as the start page, it changed the users’ behavior. The hack I ultimately went with was to make a static html page that said “thanks, please close this tab.”
Scenario:
Today we would like to watch you as you would normally use our website to solve whatever task it was that brought you to us. Please speak aloud as we virtually peek over your shoulder so we can learn how you use our site.
Tasks:
- Please tell us what brought you to support.mozilla.com (example: I googled it and found this page.)
- What issue are you trying to solve?
- As you use our website, please keep talking and saying what you're thinking. We're especially interested in hearing if you find anything confusing or frustrating.
Take the URL it generates and move onto setting up Ethnio.
Ethnio
FYI, you may need to do start the Ethnio setup first to get the javascript you’ll need to have on your production server. I had to wait an extra week waiting on the code to ship. You can these edit settings at any time, so it’s no problem to use fake info at first. The setup is broken into five steps.
Setup
There’s nothing tricky here. Follow their prompts.
Invite
I had to be specific that I needed them to start the task immediately. Some users were going about their task and then coming back after to fill out what they thought was a survey.
Questions
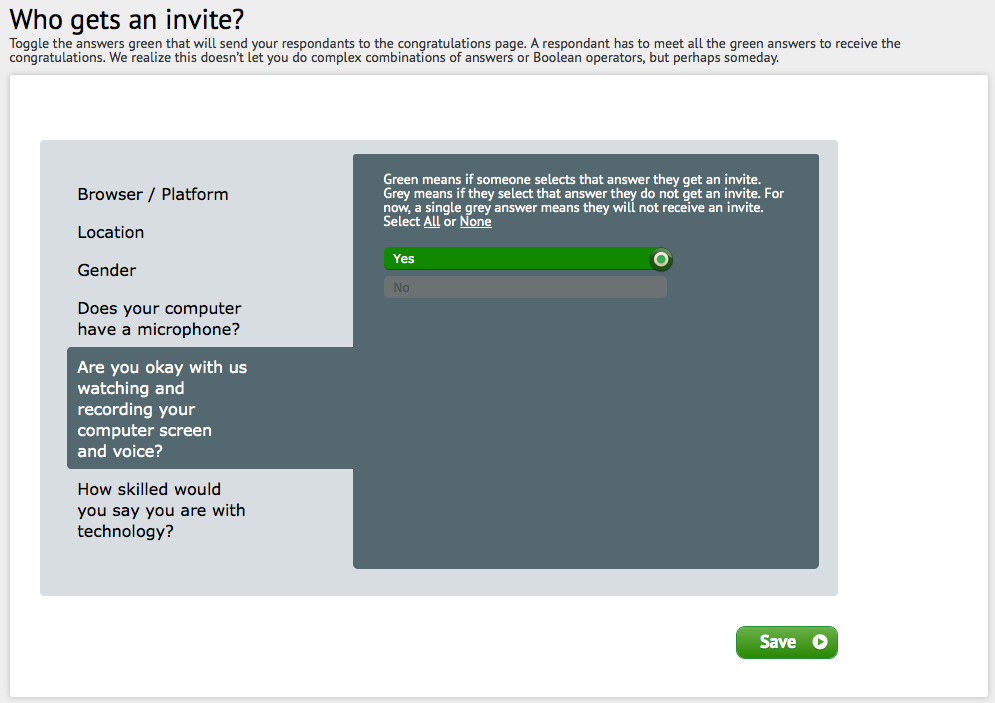
Two important yes/no questions are “Does your computer have a microphone?” and “Are you okay with us watching and recording your computer screen and voice?”
Thanks
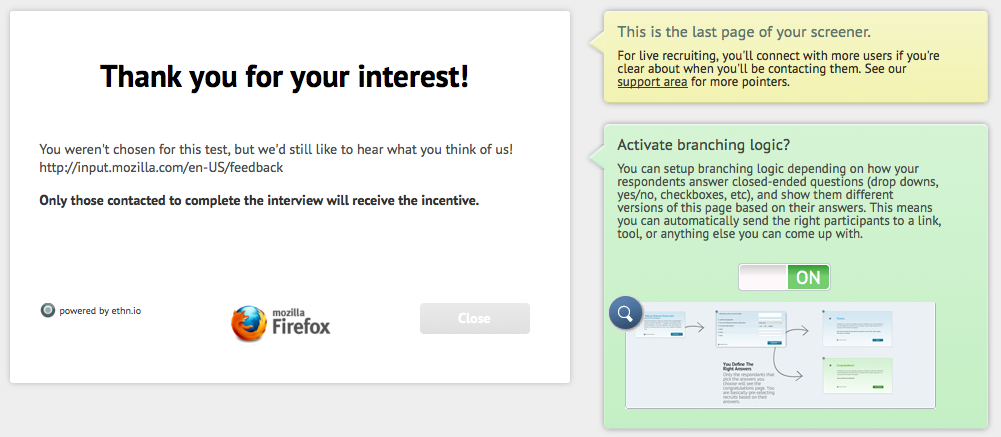
The white screener will show to users who aren’t selected for the study. In the right-hand green box, turn on activate branching logic. This will bring up all the extra options you’ll need to wire in usertesting.com.
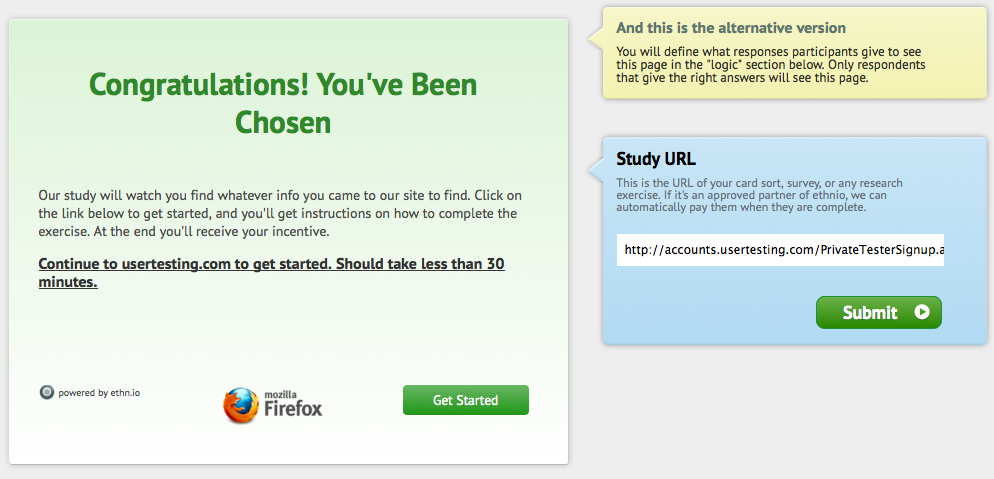
The light green box is the screener that users who’ve been selected will see. Users will automatically be selected and sent of to usertesting.com from there without further intervention from you. The right-hand blue box is where you put the URL that usertesting gave you.
At the bottom of this page is the logic that will let you filter out the users that don’t match your criteria. You’ll need to filter out users who said they don’t have a microphone and those who don’t give consent for recording their screens.
Activation
This is where you get the js activation code. There are other options here but js is the way to go for live recruiting. When you’re ready to start your test, toggle on the test on the screener tab.
Paying incentives
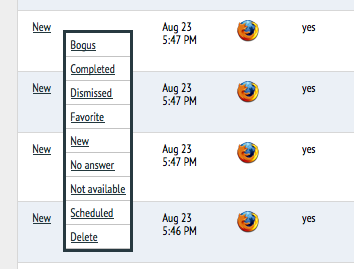
After the participant has completed and uploaded their video to usertesting, you’ll see their email address. You can then search the recruits page and mark them as completed by clicking on “new.” This will make them appear on the incentives tab where you can then pay them.

